01 · The ask
I started with the kind of material someone might genuinely have at the beginning of a project: a TradeMe listing for a 24 hectare strip above Rosalie Bay, a Pinterest board I had been quietly filling for years, and a short spoken brief. The references pointed to a simple DOC-hut character: one clear volume, corrugated metal, rough timber, a wood burner at the centre and one large opening to the weather. The brief added the practical requirements: a hut I could use myself, room for a later house, a small first stage, framing I could prefabricate and barge over, and a preference for views over shelter.
The AI then helped structure the brief by asking about capacity, the meaning of a responsive building, likely foundations and what should happen in a south-easterly. I answered by voice in the same way I might talk through an early idea with a colleague.
02 · Understanding the site before drawing
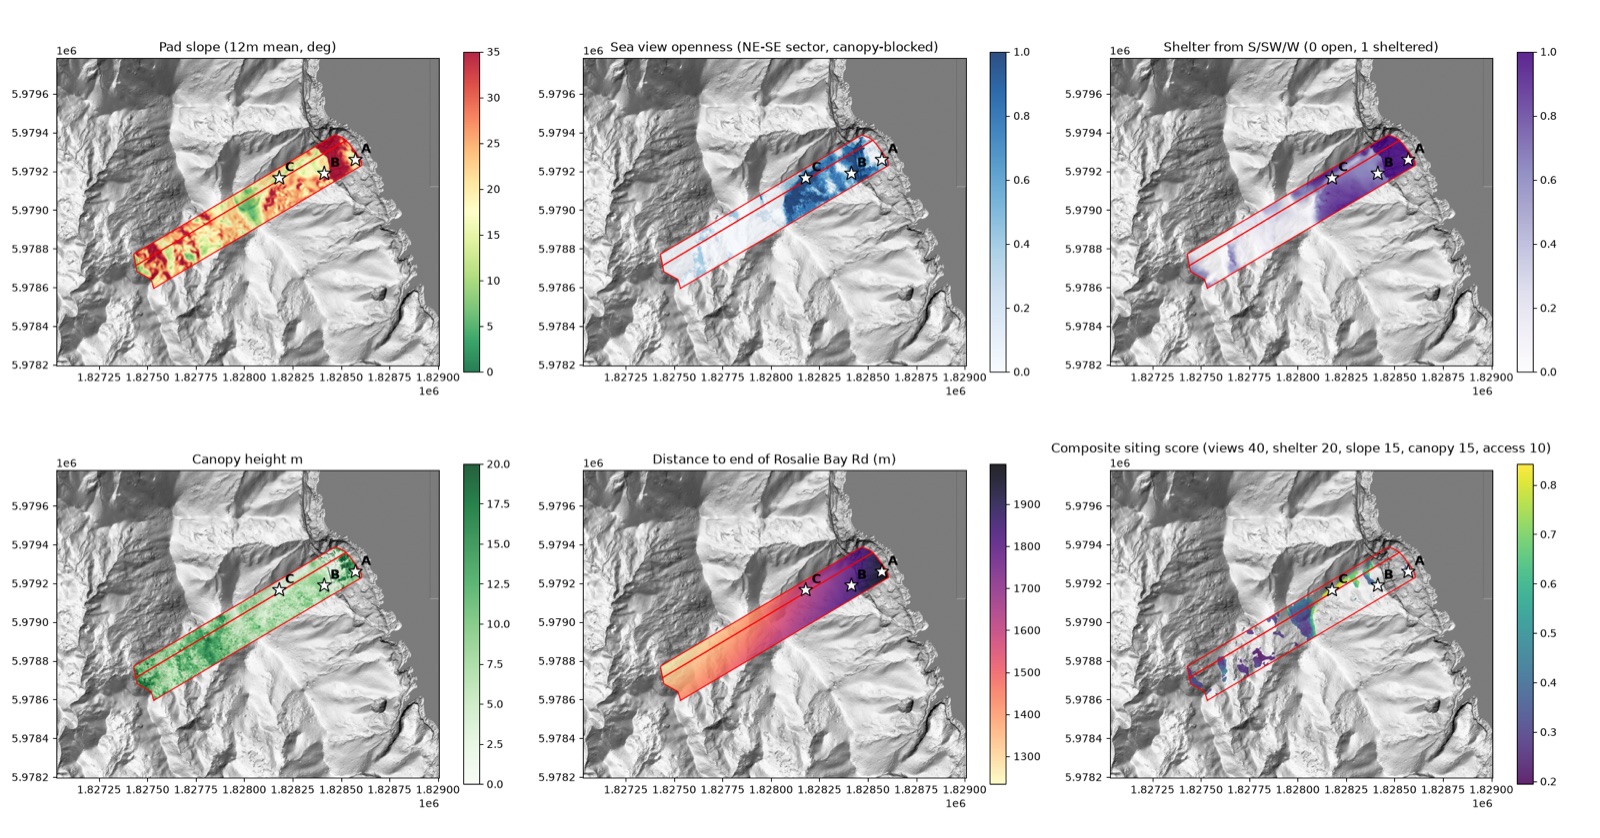
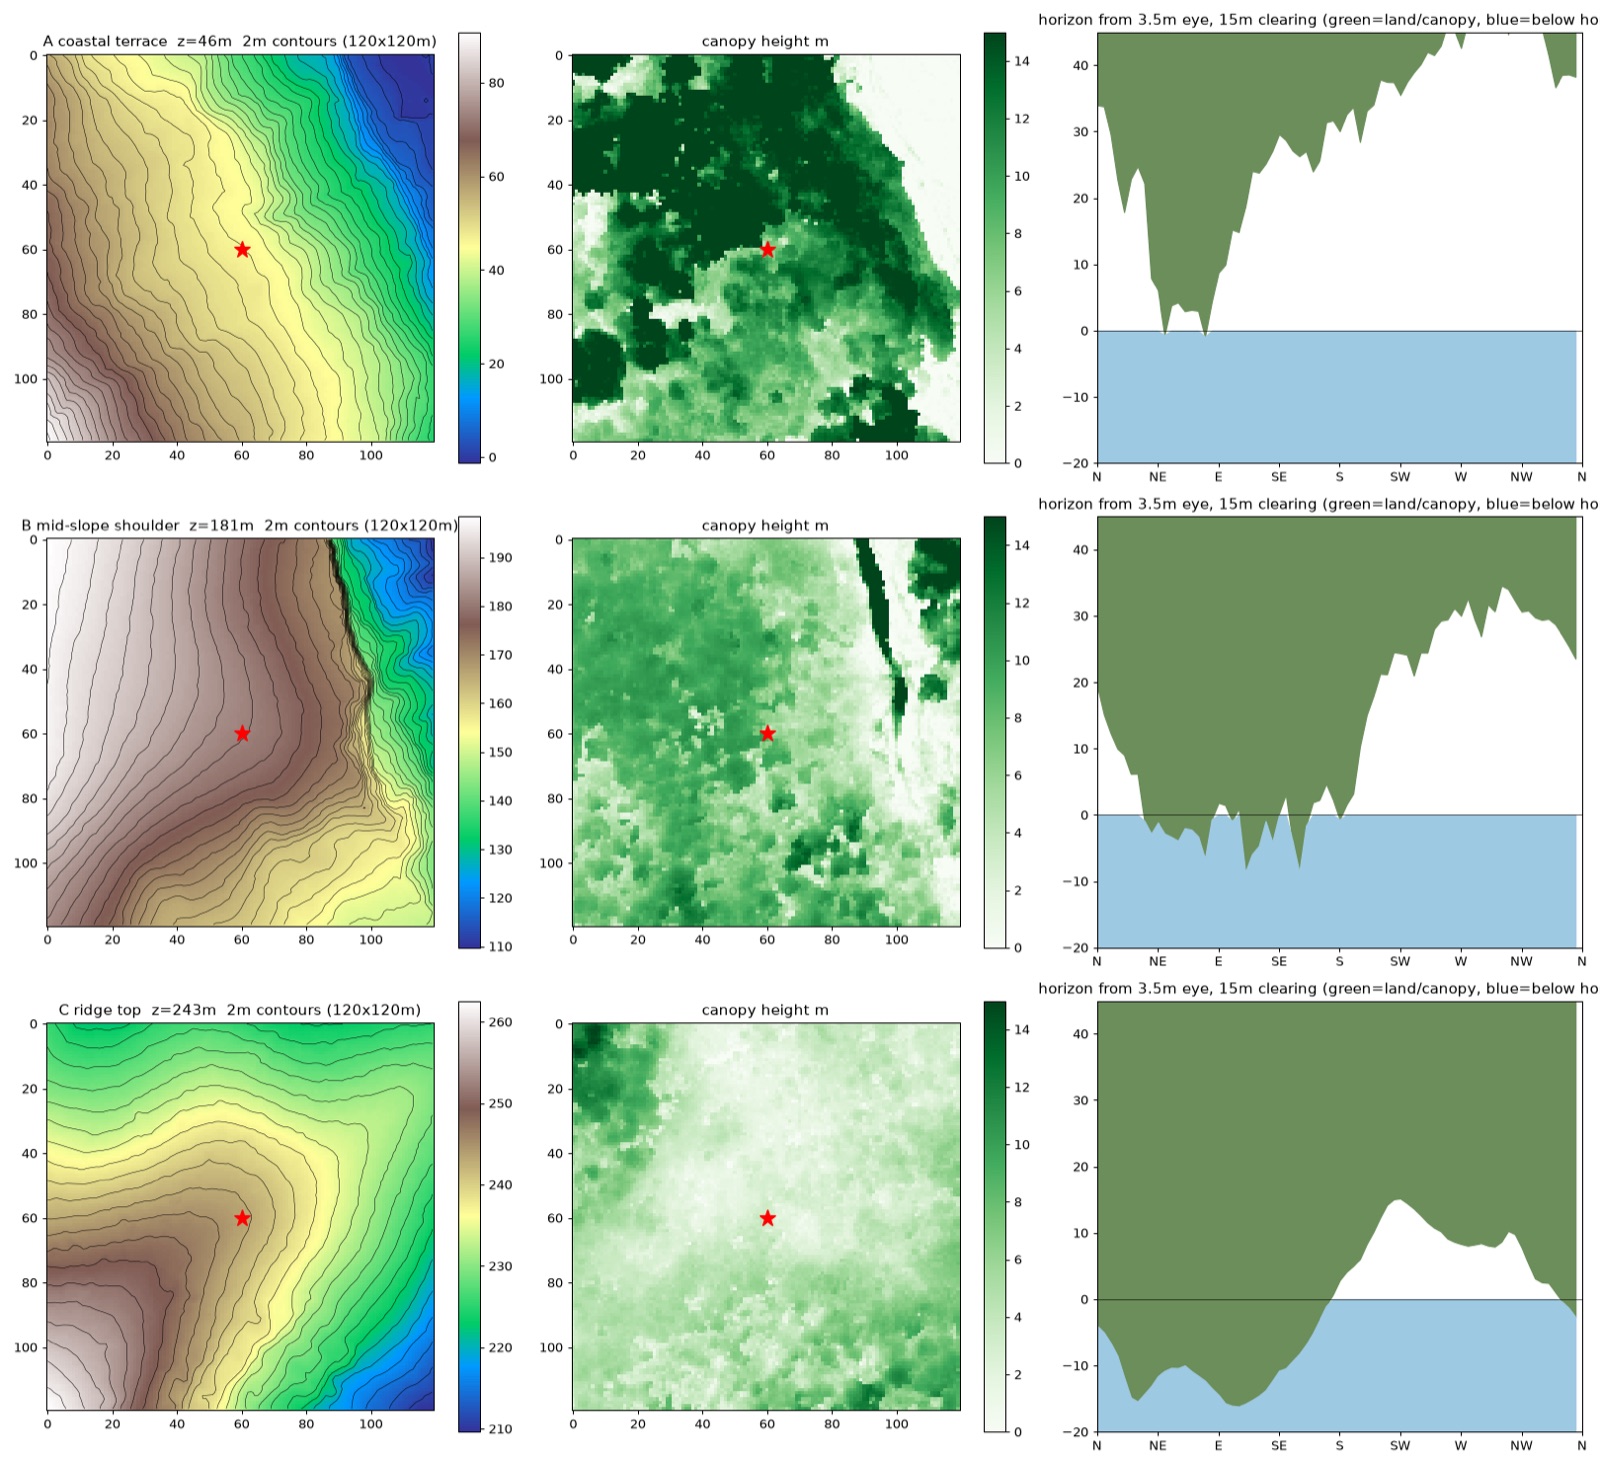
The listing used a parish allotment reference rather than an ordinary street address. AI helped connect it to two legal parcels on one title, locate the public one-metre LiDAR survey and compare slope, sea views, shelter, canopy and walking distance. The land turned out to be steep, with a median slope of 22 degrees, and only the north-east third has a clear view of the Pacific. The same work also surfaced the most immediate question: the mapped road ends about 1.2 kilometres short of the title, so legal access would need to be confirmed with the seller's agent before taking the idea further.
03 · Building a model that could change with the conversation
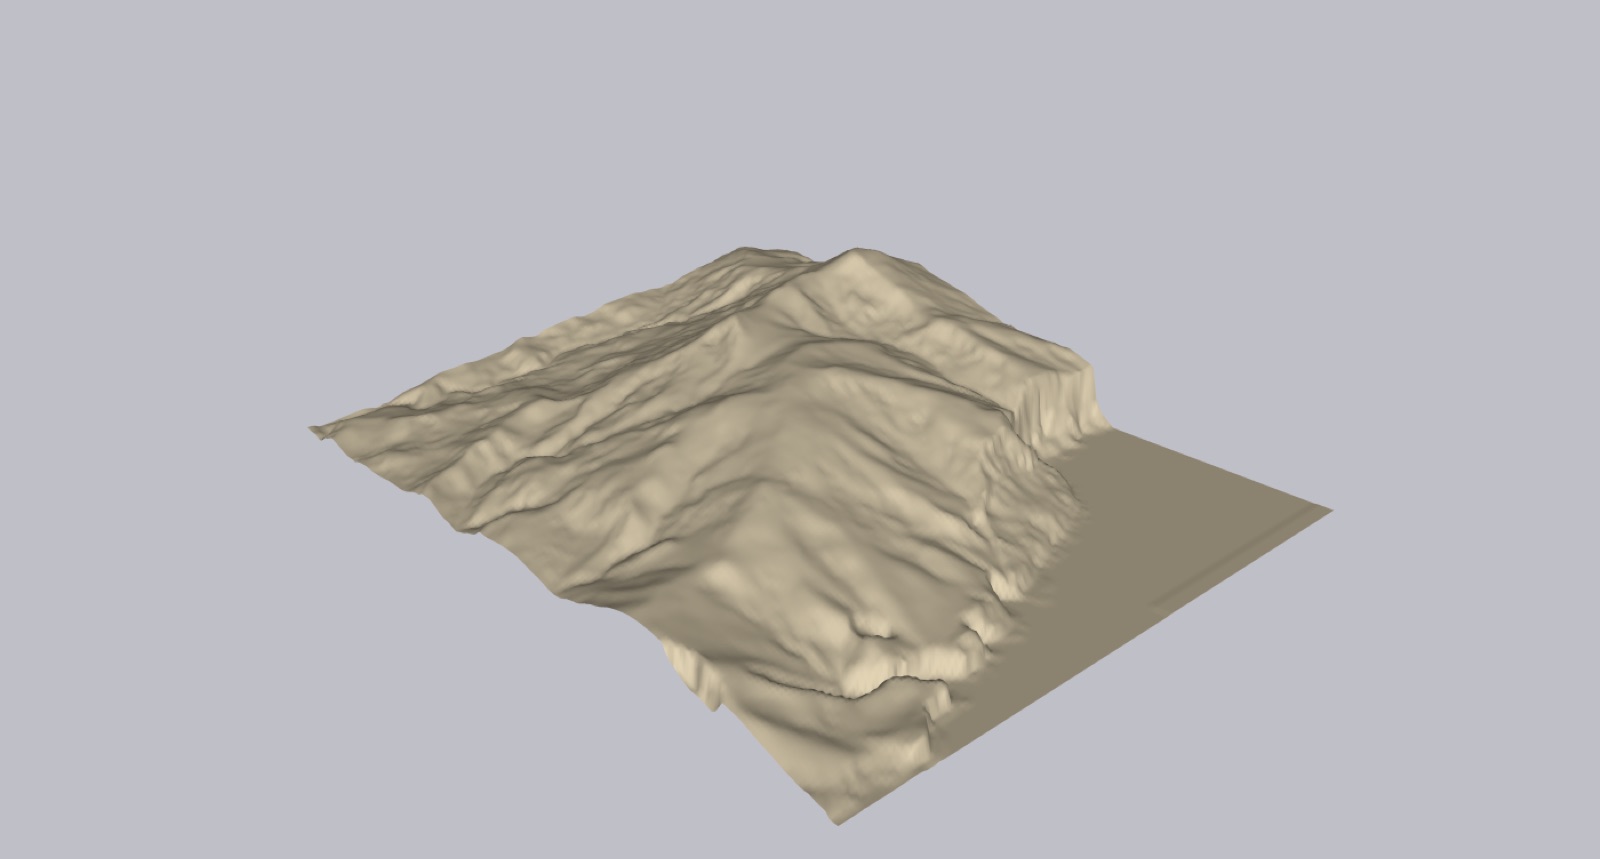
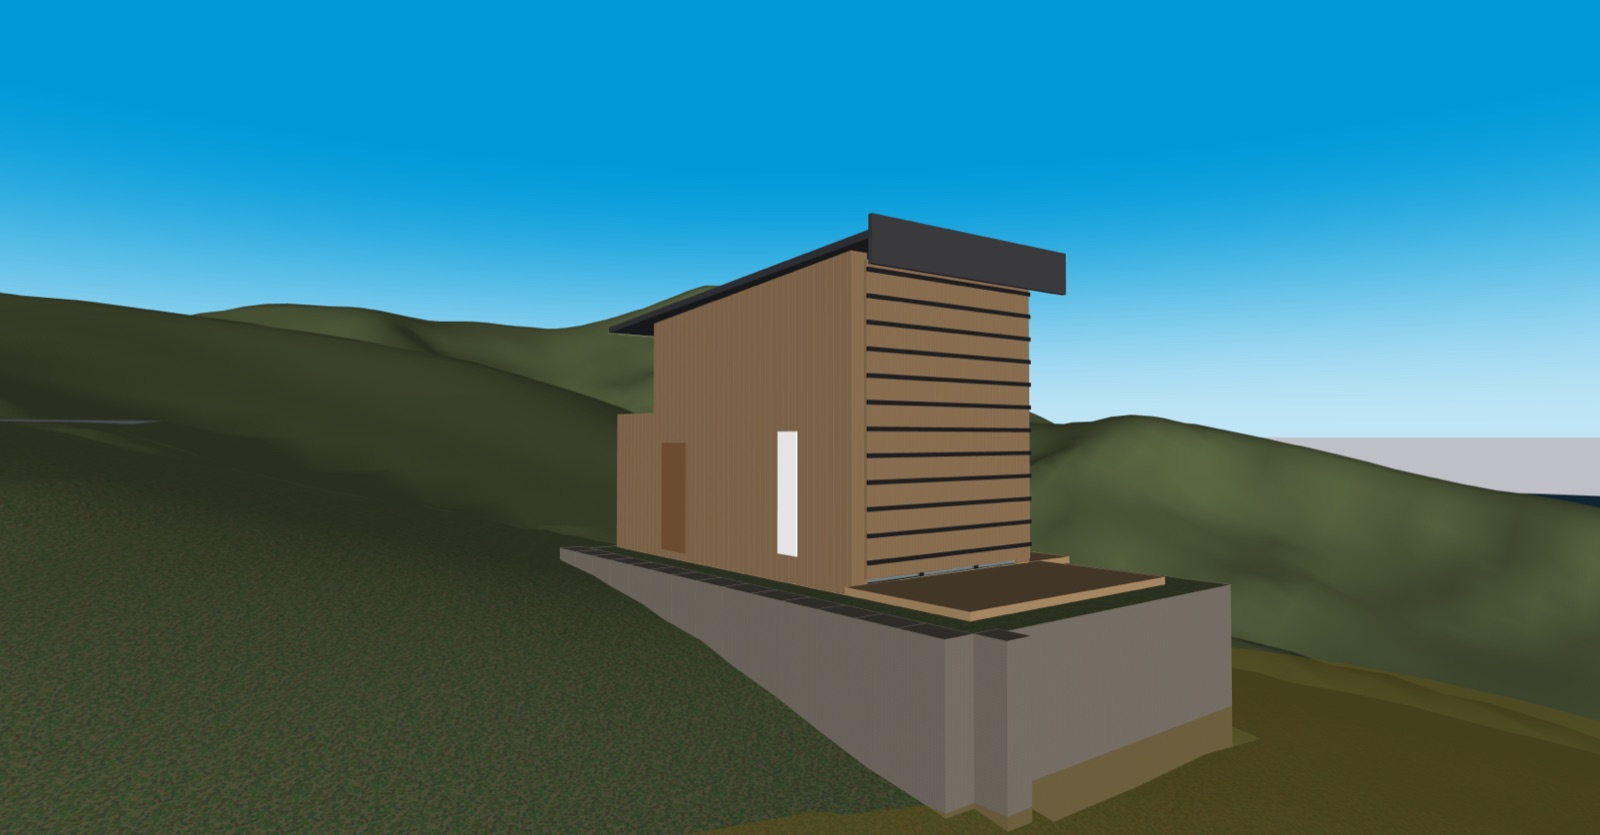
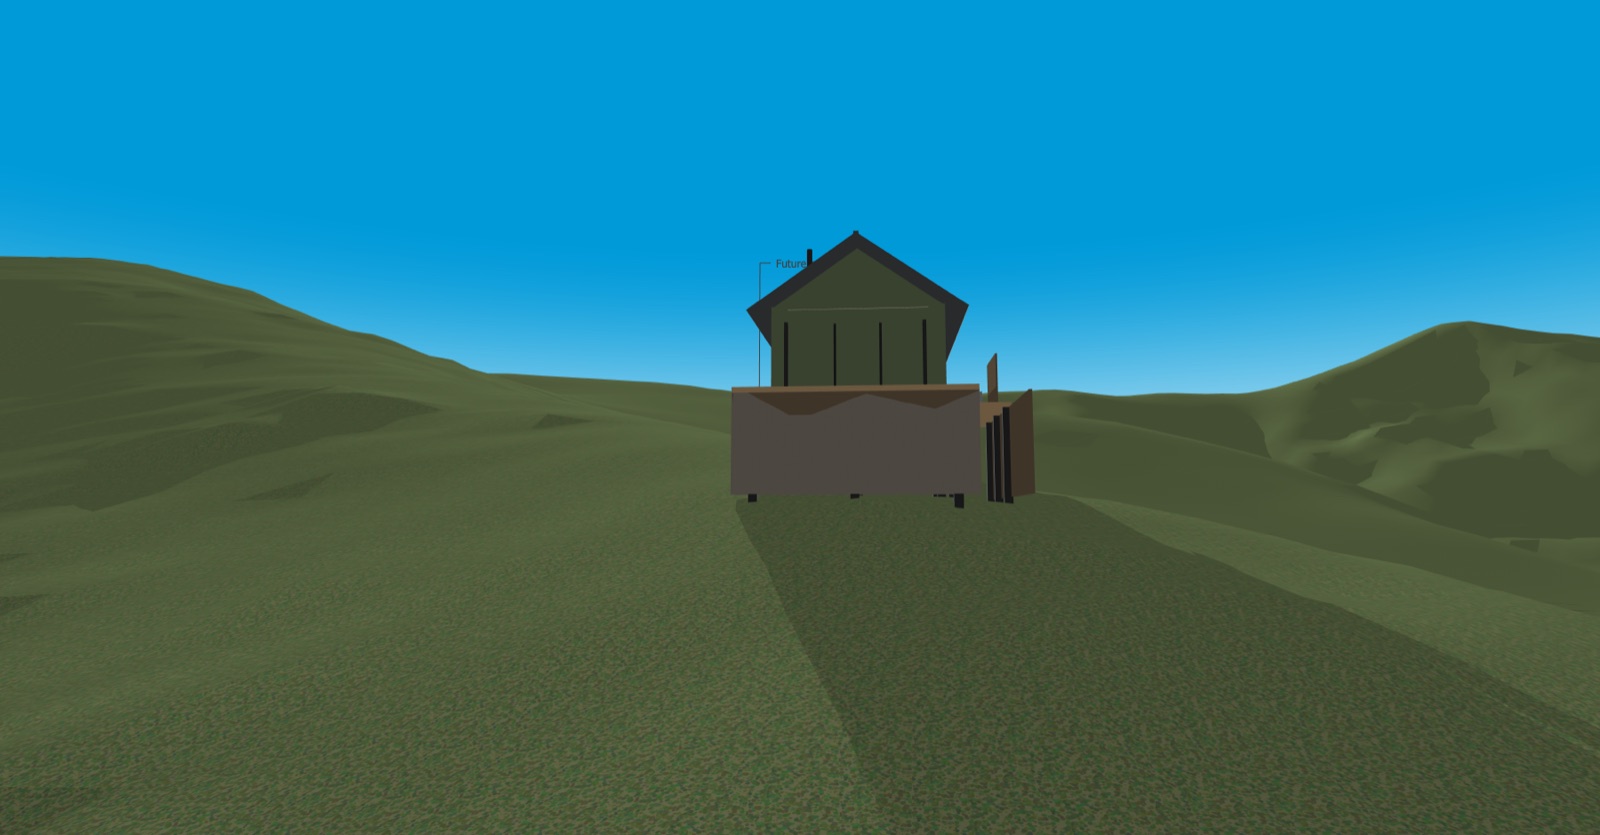
The terrain and both hut options were built directly inside SketchUp from repeatable instructions. An open-source extension connected the AI to the live model, while the technical work ran in the background. In practical terms, that meant the terrain, title boundary, buildings and camera views could all be rebuilt after a design change.
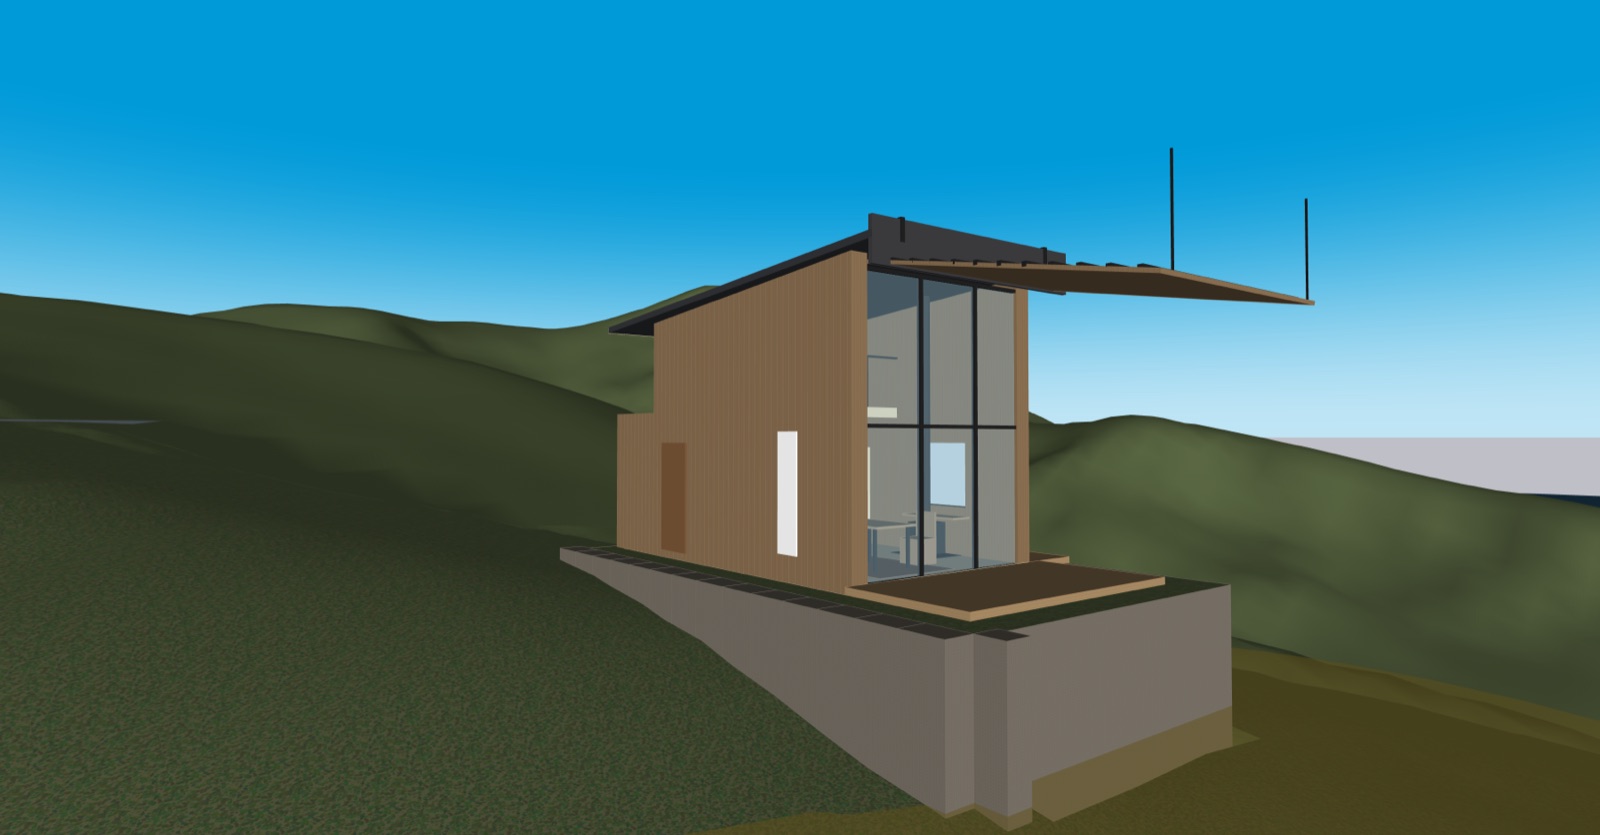
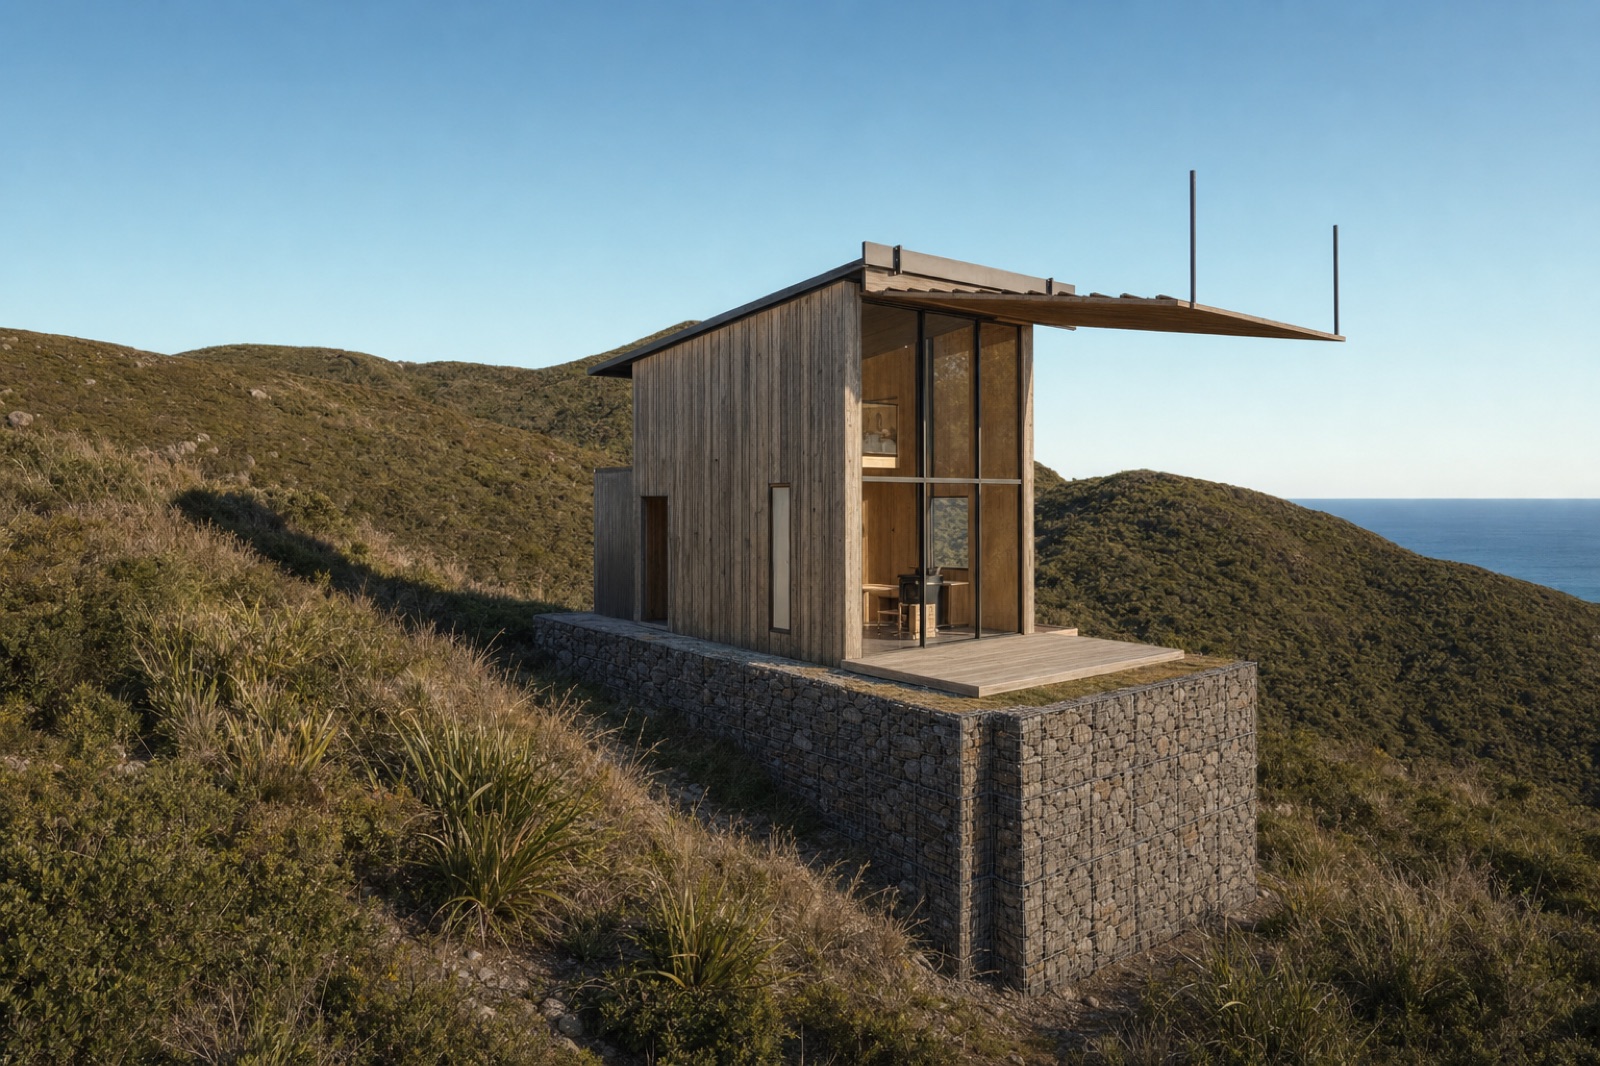
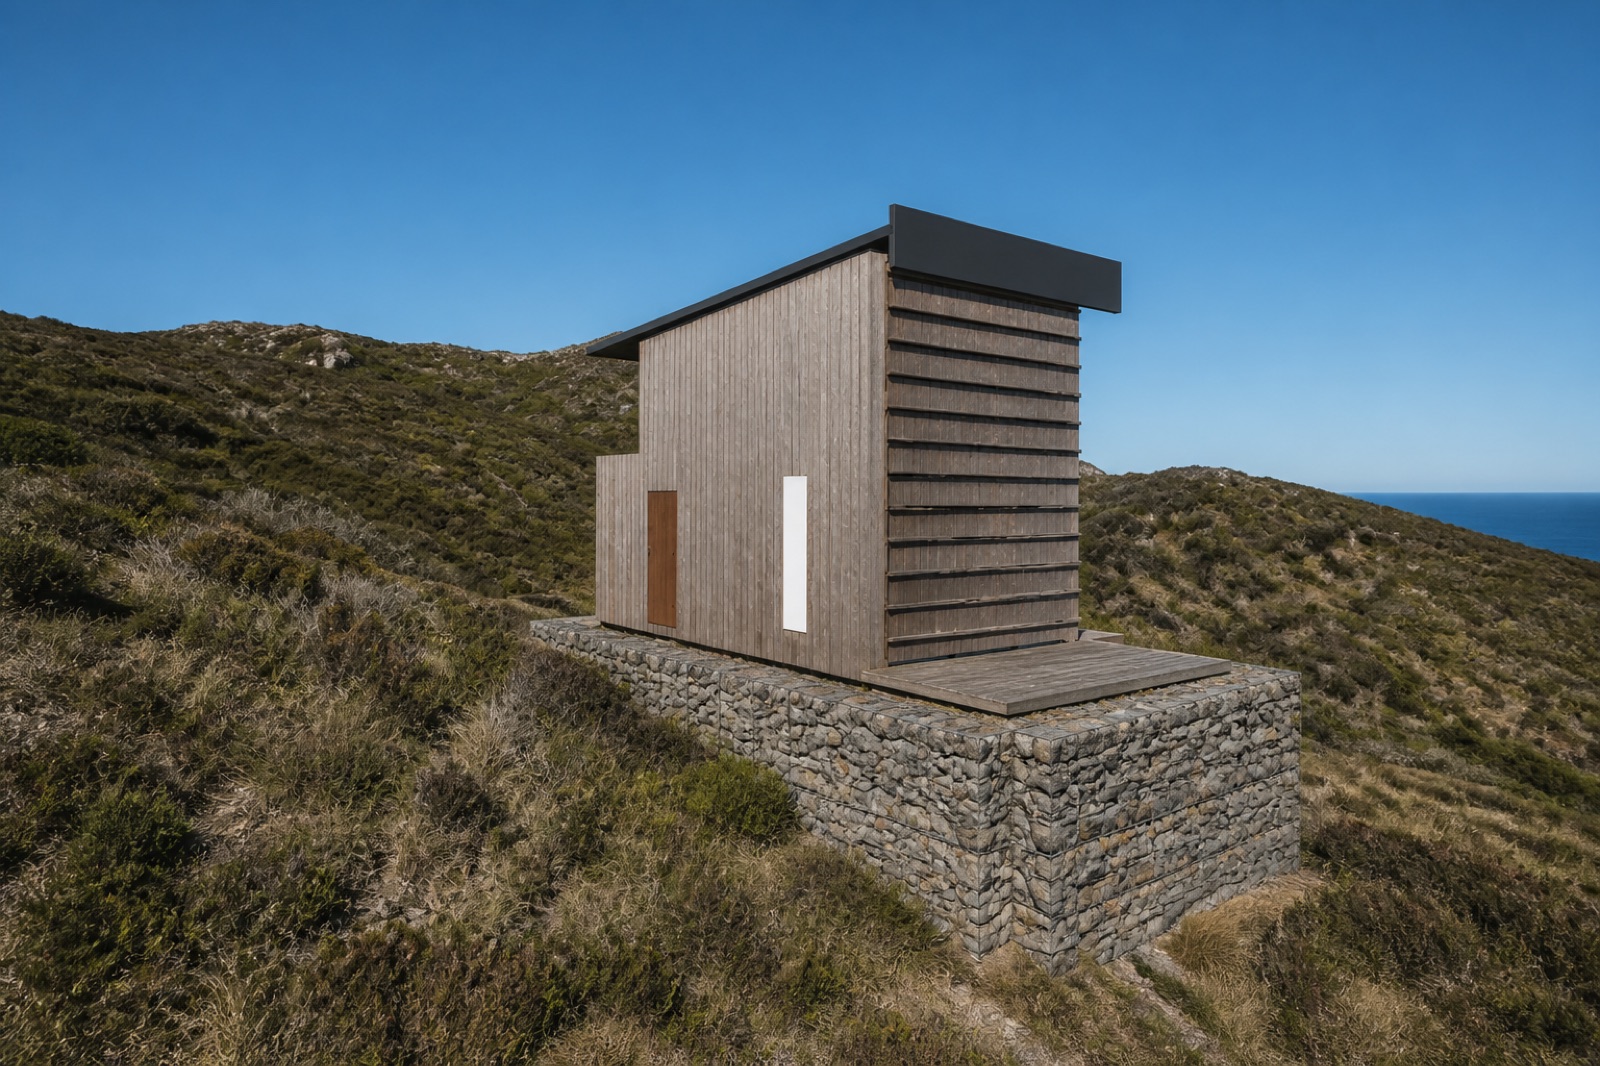
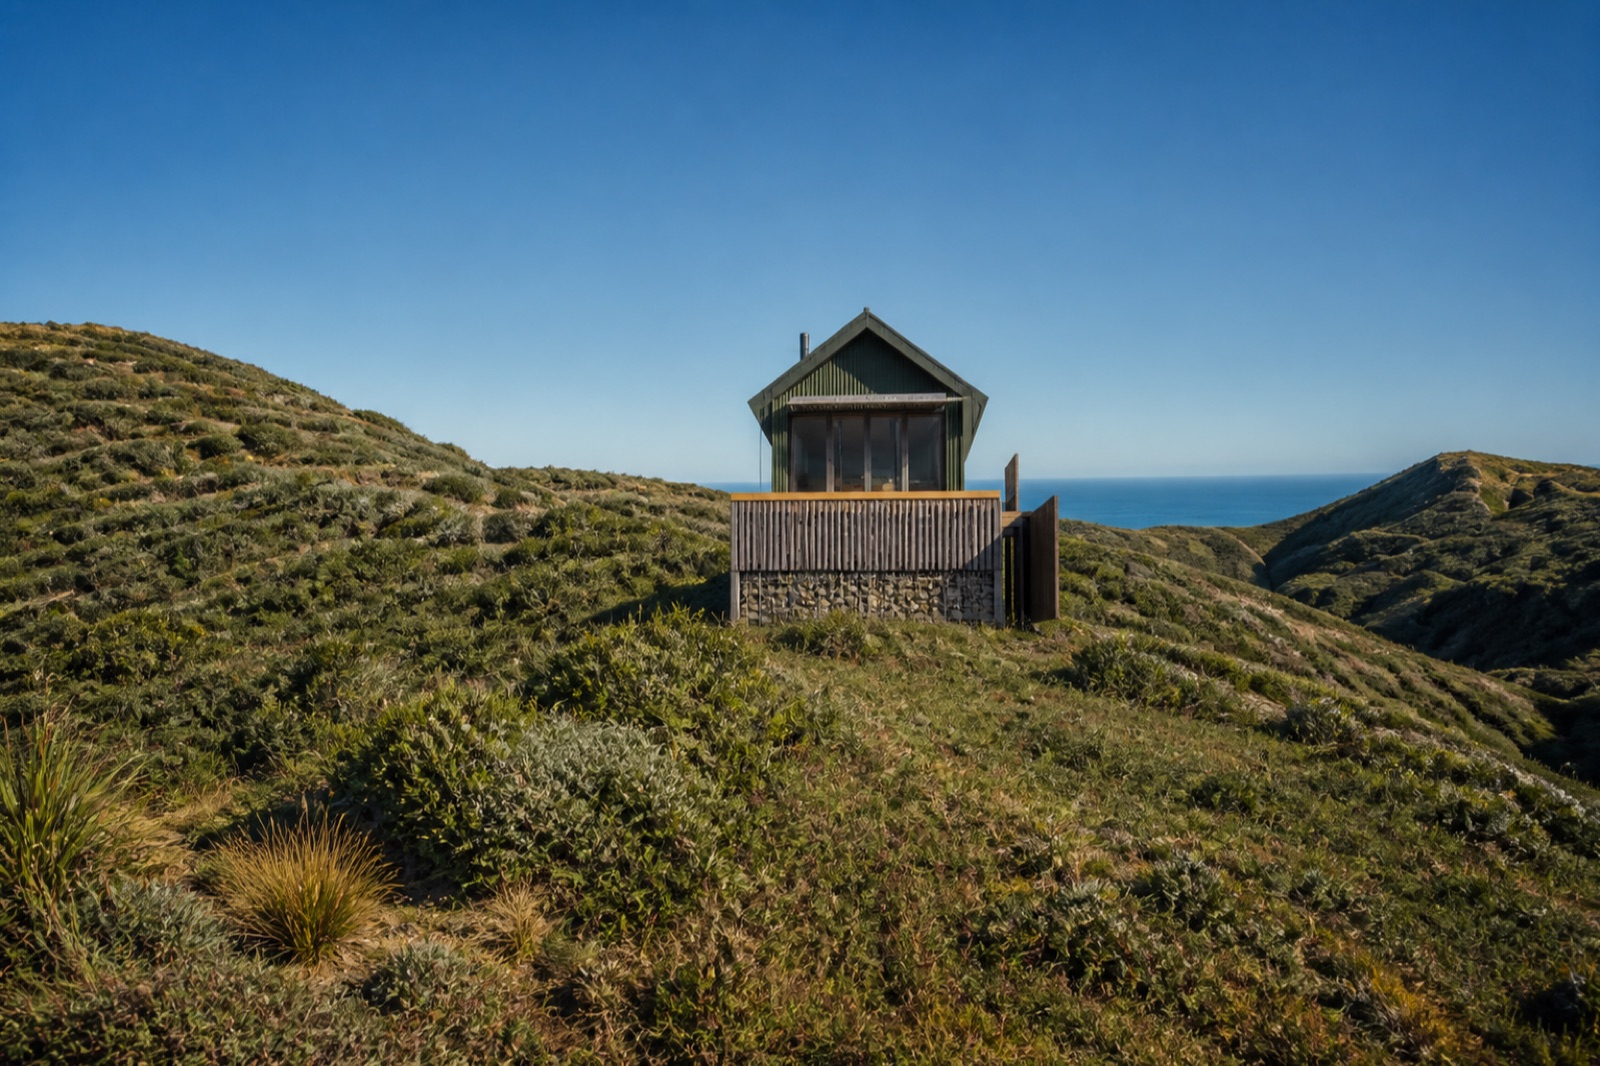
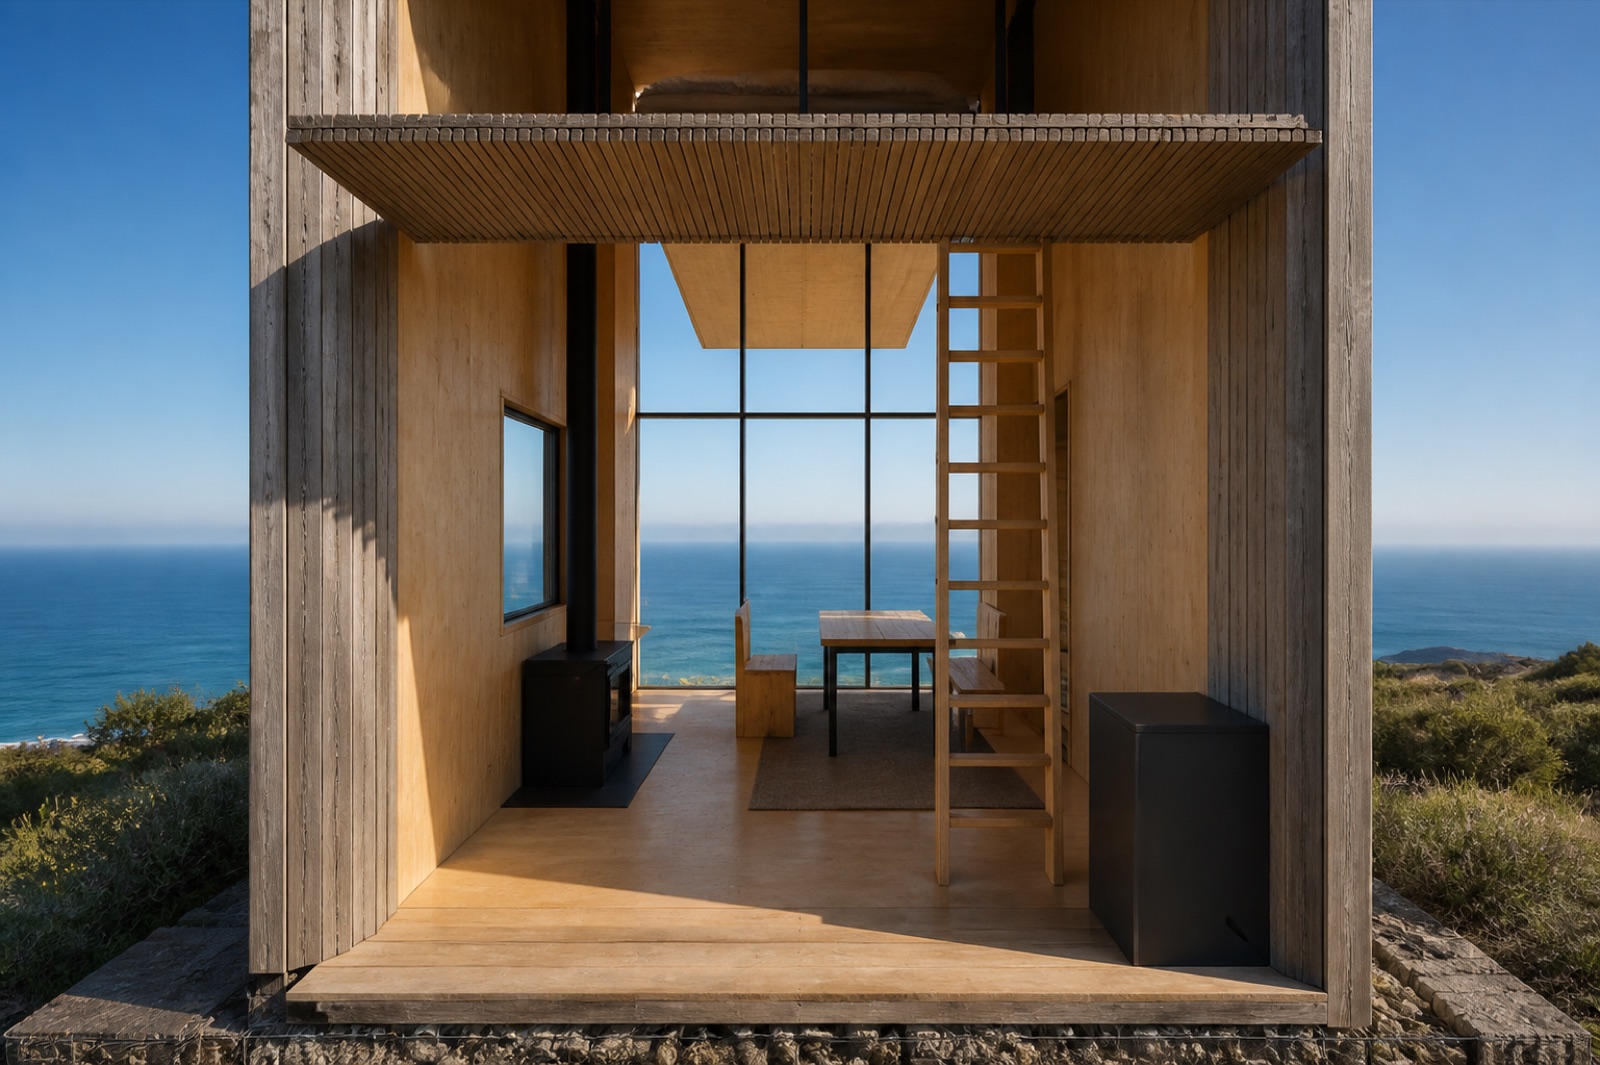
The first hut was a competent DOC-style gable, and my reaction was immediate: it reads like a house. I used Hut on Sleds, designed by Crosson Clarke Carnachan Architects, to explain the kind of weather-closing facade I wanted to study, while keeping the Aotea building benched into the hill rather than on runners. Option 2 arrived as a tall timber box with a full-height shutter that winches up as an awning and drops to close the building before a storm. I liked it and kept both. Option 2 is therefore presented as a precedent-led study, with the source and the design changes made explicit.
04 · Turning the model into something easier to understand
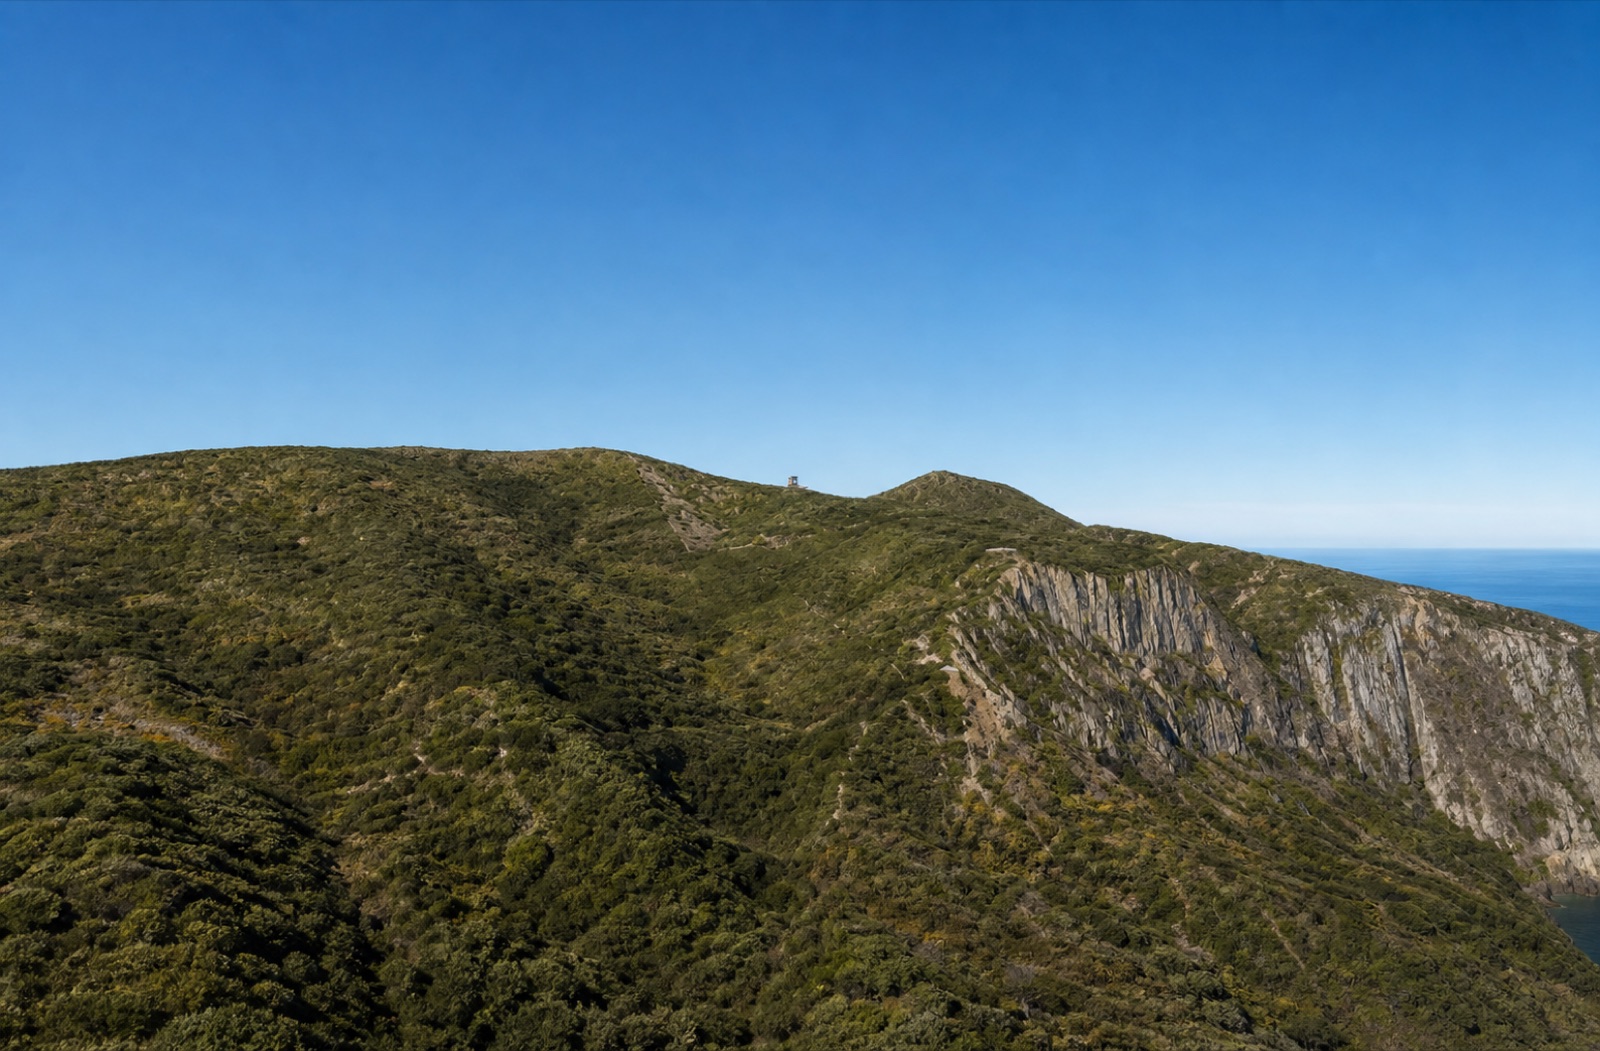
An initial Blender workflow produced accurate but flat images and required more setup than this early study justified. I then used image generation over exact SketchUp viewport captures. The model view locks the camera, the geometry and the openings; the prompt describes the materials and the place: weathered macrocarpa, gabion base, manuka and flax, the Pacific with a clean horizon. Each frame took one to three minutes. The set below is the same building, same camera, before and after.
05 · A first version to react to
The final task that day was to organise the work into a website. The first version did not match the Landform Labs visual system, so I asked for it to be rebuilt using the existing site styles. The result is a single page with the siting analysis, a live 3D explorer running the real LiDAR terrain and both options with a storm-mode toggle, the render galleries, a comparison table, and the question list I would take to the selling agent and a local architect. I kept that first version as a record of what one working session produced and where the next round of refinement began.
06 · What the first day was useful for
The first day produced parcel information, a terrain study, three possible locations, two modelled options, images and a simple presentation site. I set the brief, chose the preferred location, directed the design changes and checked the outputs. The process also exposed several problems: a units bug briefly made the model 25 times too large, the Cycles interiors rendered black before the approach changed, and one render quietly lost the outdoor bath it was supposed to feature. Each issue was corrected before the work was shared, and each informed the more detailed method that followed.
The useful result was an informed early view of the site and two ideas worth discussing. AI reduced the effort needed to assemble and visualise that first pass, which made it practical to explore the land before commissioning a full study. The decisions about buying the land and what should be built remained mine, and the work would still need a site visit and professional advice before moving further.
07 · The method study
The study did not stop here. The next stage added twenty-eight review decisions, developed the storm shutter mechanism further, and recorded five items that still need specialist input. The full account, with the pipeline diagram, the drawing package and the field notes volume, sits alongside this note.
Aotea Hut
The full method, including the review record, generated drawings, open checks and field notes volume.